Free VPN Configuration for iPhone: A Comprehensive Guide
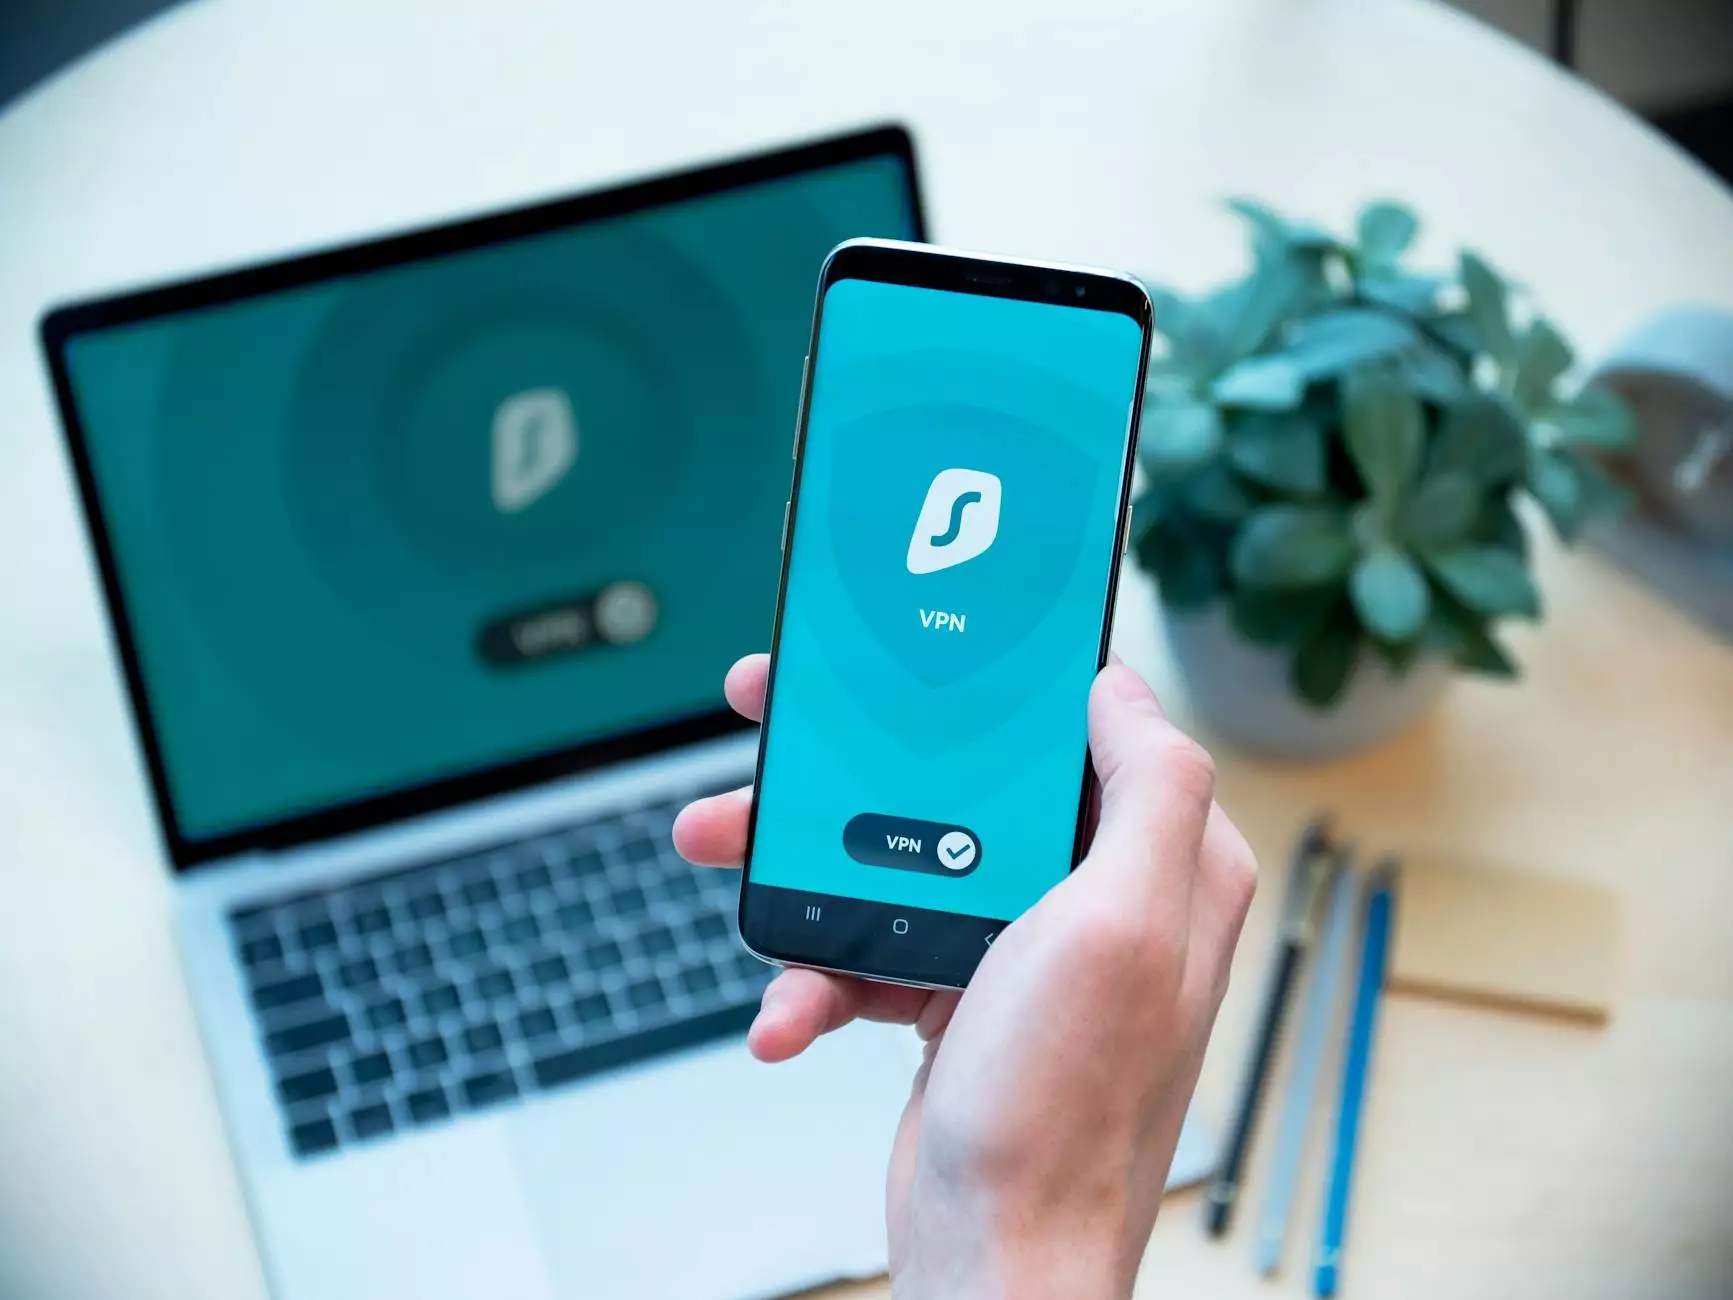
In today’s digital age, privacy and security are paramount when it comes to using the internet. With inexhaustible information available at our fingertips, it’s crucial to protect our personal data. Whether you’re browsing on a public Wi-Fi network or simply want to maintain your online anonymity, having a Virtual Private Network (VPN) is essential. In this extensive guide, we will explore how to set up a free VPN configuration for iPhone, enhancing your online security.
What is a VPN?
A VPN, or Virtual Private Network, acts as a secure tunnel between your device and the internet. It encrypts your data, ensuring that your online activities remain hidden from prying eyes. With a VPN, you can access restricted content, enhance your privacy, and protect yourself from cyber threats.
Importance of Using a VPN on Your iPhone
Using a VPN on your iPhone comes with numerous advantages:
- Enhanced Security: Protects your personal information while surfing the web.
- Access to Geo-Restricted Content: Allows you to browse content from other countries.
- Online Anonymity: Masks your IP address, making you less traceable.
- Safe Public Wi-Fi Usage: Secures your connection on unsecured networks.
- Bypass Censorship: Enables access to blocked websites and services.
Choosing the Right Free VPN for iPhone
Not all VPNs are created equal. When selecting a free VPN for your iPhone, consider the following:
1. Privacy Policy
Ensure the VPN has a strict no-logs policy. This means they do not keep records of your online activity.
2. Encryption Standards
The VPN should utilize strong encryption protocols (like OpenVPN or IKEv2) to secure your data.
3. Speed and Performance
A good VPN should provide fast connection speeds without throttling your bandwidth.
4. Server Locations
Look for a VPN that offers a variety of server locations, as this will allow you to access a broader range of content.
5. User Interface
The VPN app should be user-friendly, making it easy to connect and configure.
Setting Up Free VPN Configuration for iPhone
Now that you have selected a suitable VPN, let's proceed to configure it on your iPhone. Follow these detailed steps for free VPN configuration for iPhone:
Step 1: Downloading the VPN App
Head to the App Store on your iPhone and search for your selected VPN provider’s app. Download and install the application.
Step 2: Creating an Account
After installation, open the app and sign up for a free account. Some VPNs may require you to verify your email address.
Step 3: Configuring the VPN
Once you are logged in, navigate to the settings within the app. Select your preferred server location to connect to.
Step 4: Connecting to the VPN
Hit the connect button. You may be prompted to allow the app to create a VPN configuration on your iPhone. Tap Allow.
Step 5: Confirmation of Connection
You will notice a VPN icon appear in the status bar, indicating that you are connected. You can now surf the internet securely!
Handling Common Issues with VPN Configuration on iPhone
As with any technology, you may encounter occasional issues. Here are some common problems and solutions related to free VPN configuration for iPhone:
1. Connection Failures
If the VPN won’t connect, try the following:
- Check if your internet connection is working properly.
- Switch to a different server location.
- Restart the VPN app and try again.
2. Slow Speeds
Slow connection speeds can be frustrating. If you experience this:
- Switch to a server that’s closer to your actual location.
- Disconnect and reconnect to refresh the connection.
- Check if your internet service is stable.
3. App Crashes
If the app crashes on your iPhone, try:
- Restarting your iPhone.
- Reinstalling the VPN app.
- Checking for any updates available for the app.
Maximizing Your VPN Experience on iPhone
To make the most of your free VPN configuration for iPhone, consider these tips:
1. Always Connect Before Browsing
Make it a habit to connect your VPN before accessing the internet, especially on public Wi-Fi networks.
2. Enable Kill Switch
Some VPNs offer a kill switch feature that cuts off your internet connection if the VPN fails. Enable this feature for added security.
3. Regularly Update the App
Ensure your VPN app is always up-to-date to benefit from the latest security features and performance improvements.
4. Utilize Split Tunneling
If the VPN supports split tunneling, you can choose which apps will use the VPN. This can help improve speed for applications that don’t require a secure connection.
Final Thoughts on Free VPN Configuration for iPhone
Using a VPN on your iPhone is a powerful step towards safeguarding your online privacy. With the proper configuration, you can enjoy enhanced security, unrestricted access to global content, and peace of mind while browsing. Remember to choose a reliable VPN provider that prioritizes your privacy and offers robust features.
As you embark on your journey for a secure online experience, always stay informed about the latest VPN trends, privacy news, and updates in technology. By doing so, you enhance not only your knowledge but also your overall internet experience.
For reliable VPN solutions tailored for all your online needs, consider exploring ZoogVPN, where you can find excellent options to protect your digital footprint.